
There’s a particular kind of satisfaction that comes from walking into a room and thinking it looks like it cost twice what it did. Custom millwork, architectural detail, carefully framed windows – these are the things that separate a house that feels designed from one that feels just… built. The good news is that most of those high-end touches come down to materials, patience, and a weekend or two rather than a contractor’s invoice.
Plenty of the most convincing upgrades cost well under a few hundred dollars in materials. The projects below aren’t just cosmetic Band-Aids. Done thoughtfully, they add the kind of layered visual detail that makes guests assume the house was always that way.
1. Faux Shiplap Accent Wall
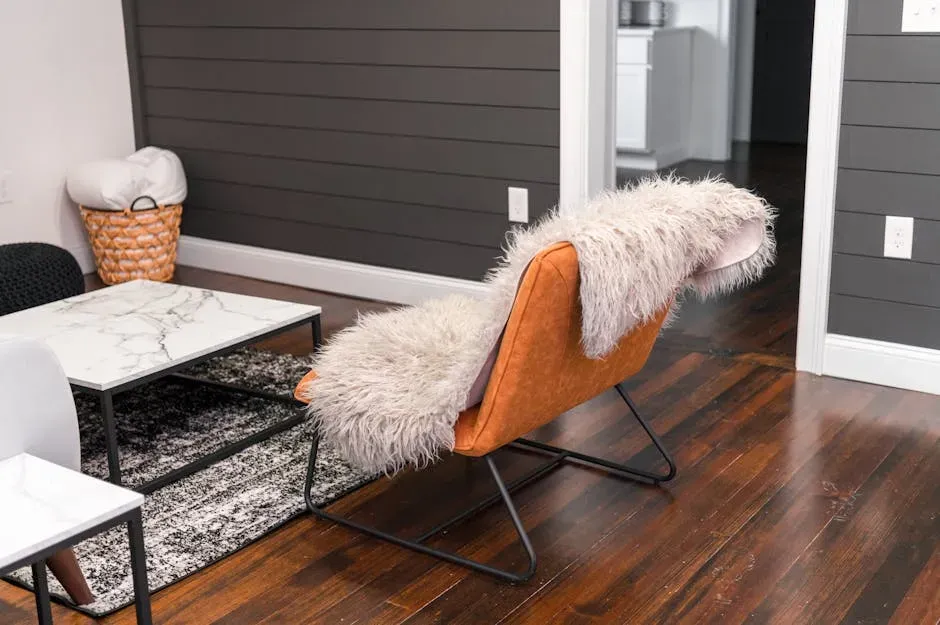
Few things give a room a more intentional, designer look than a shiplap wall, and the DIY version costs a fraction of the real thing. You can add a gorgeous shiplap accent wall in any space for roughly $50 or less by trimming down plywood into planks, then attaching the boards to your wall using construction adhesive and nails. The key detail that separates a DIY version from the real deal is using thin plywood strips, which are only about a quarter-inch deep, allowing you to leave all of the molding in the room in place and simply butt the wood strips up against it – no teardown required.
To save on cost, a faux shiplap treatment using plywood instead of real shiplap wood boards is a popular approach, with total plywood costs for two accent walls coming in around $75. Spacing the boards with small coin-sized gaps is the trick that creates the authentic look. Finish it off by painting the panels, and the result is a DIY shiplap wall on a dime.
2. Painted Kitchen Cabinets with New Hardware
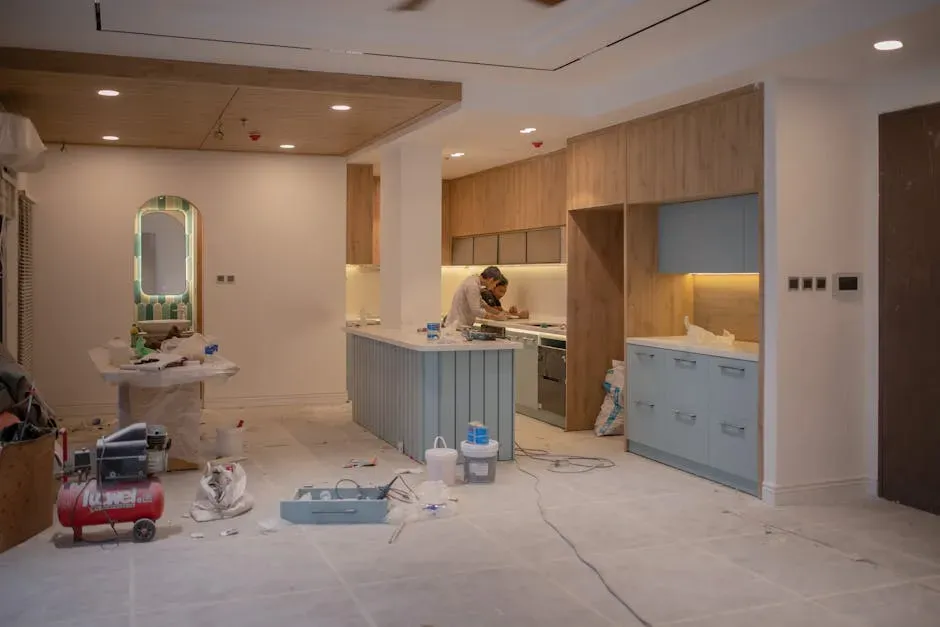
A full kitchen remodel is one of the most expensive home projects imaginable, but painted cabinets can deliver a surprisingly convincing update. Painting cabinets costs significantly less than replacing them entirely, often saving thousands of dollars. New cabinets typically cost between $5,000 and $25,000 or more, while cabinet painting runs $1,500 to $5,000 for professional work. Go the DIY route and that cost drops dramatically. DIYers can expect to spend between $200 and $600 on materials and supplies, which typically includes prep work, sanding, priming, and two coats of enamel-grade paint.
Surface prep is everything here. DIY kitchen cabinet painting can save money, but it requires patience, attention to detail, and the right tools to get it right. Pair fresh paint with new hardware – updated knobs or pulls in a brushed brass or matte black finish – and the kitchen genuinely looks remodeled rather than refreshed. The return on investment is excellent because freshly painted cabinets dramatically update a kitchen’s appearance without major construction.
3. Board and Batten Wainscoting
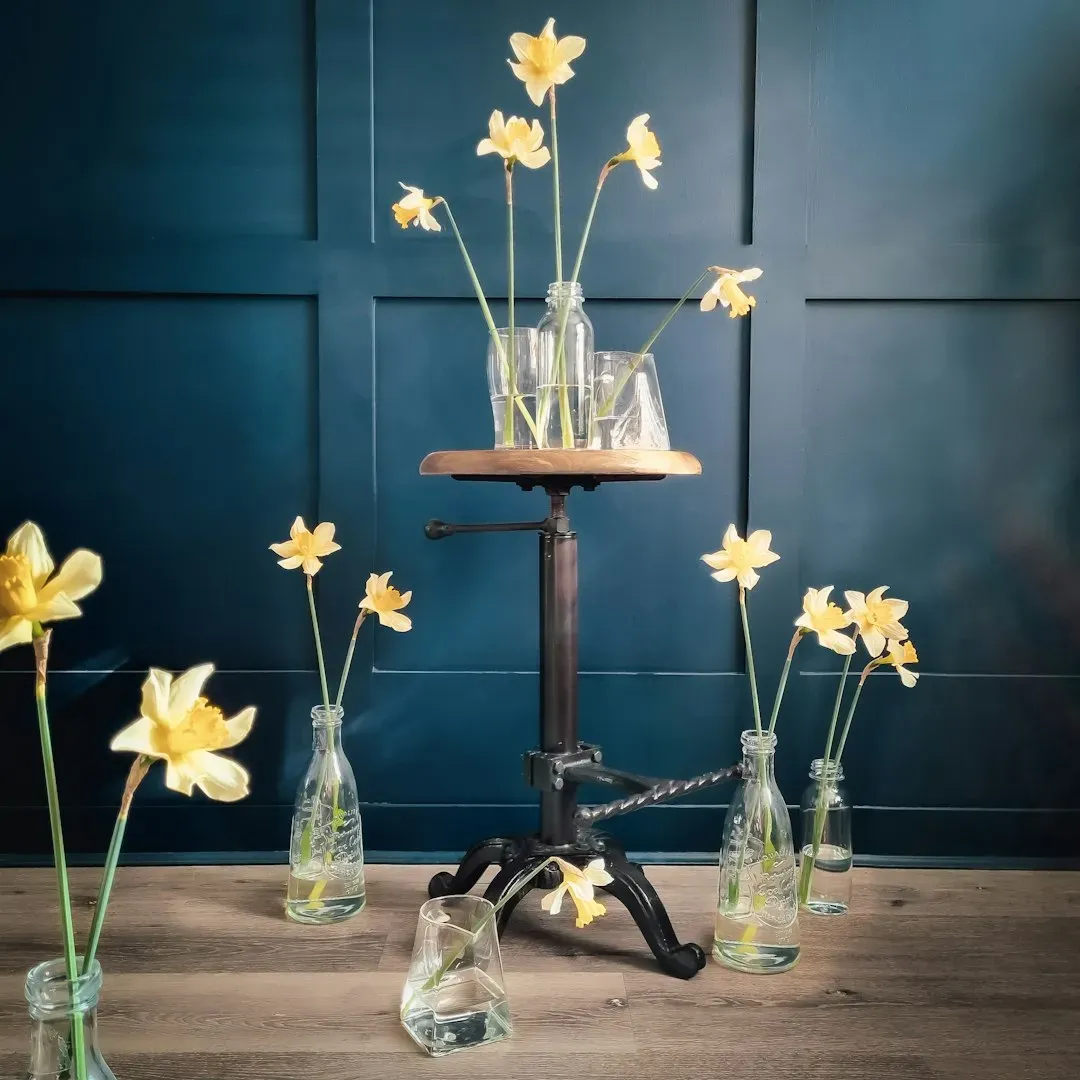
Wainscoting is one of those architectural details that reads as expensive and intentional even when done with the most modest materials. Wainscoting is decorative wood paneling that wraps the lower portion of a wall. Beyond its classic look, it also provides insulation and scuff protection, and installed at roughly waist height, it delivers quick elegance and character. The board-and-batten style in particular is a DIY-friendly format that suits everything from farmhouse interiors to more modern spaces.
Beadboard and board-and-batten wainscoting are popular DIY projects. A basic beadboard installation in a standard room takes a weekend and costs between $150 and $450 in materials. If you want to save money and like the classic white wainscoting look, opt for MDF, vinyl, or PVC when picking materials. They take paint beautifully, and once finished, nobody can tell the difference from oak.
4. DIY Window and Door Trim Upgrades
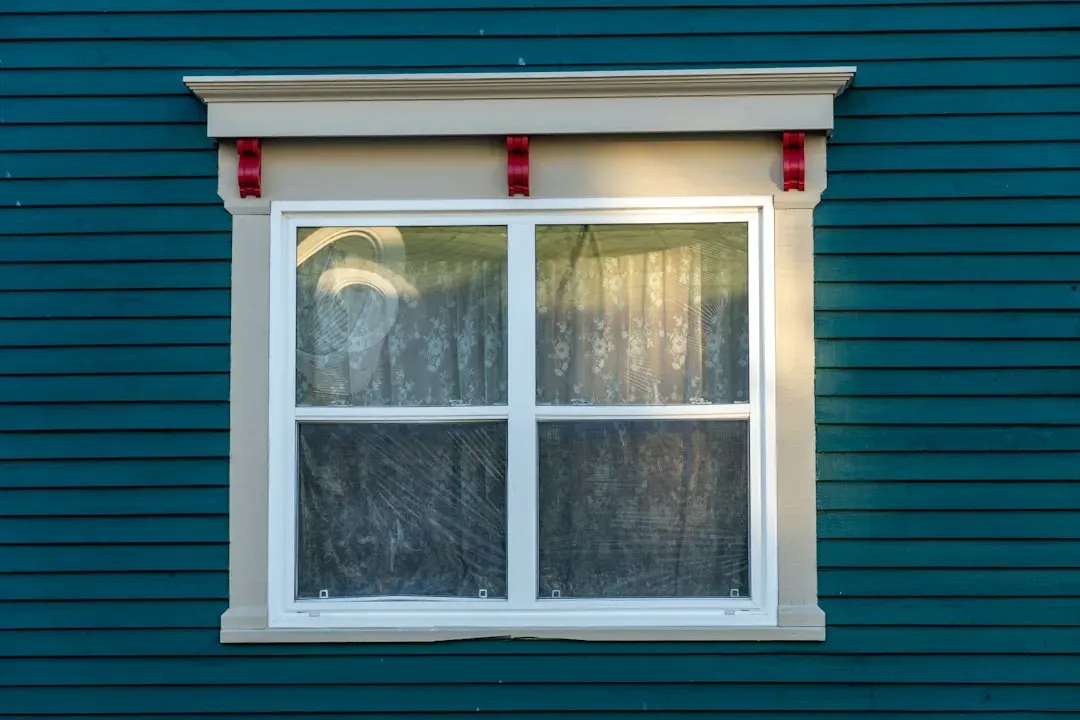
Plain, builder-grade window and door casings are one of the biggest giveaways that a home was built quickly and inexpensively. Upgrading them with thicker, more decorative trim is a surprisingly manageable DIY project. No special fancy tools or hardware are required for easy DIY window trim, and installing a window frame yourself is totally doable with basic measuring skills and a miter saw. The visual payoff is immediate and significant.
Adding trim to your home can give it a more finished, upscale look that can make your home more appealing when it comes time to sell. Well-installed trim also indicates an attention to detail, which makes a home more competitive to prospective buyers. Trim material prices run between $1 and $5 per linear foot on average, and MDF and soft woods like pine are cheaper than hardwoods, making this one of the most cost-effective upgrades per visual square foot you can make.
5. Built-In Look for Stock Kitchen Cabinets
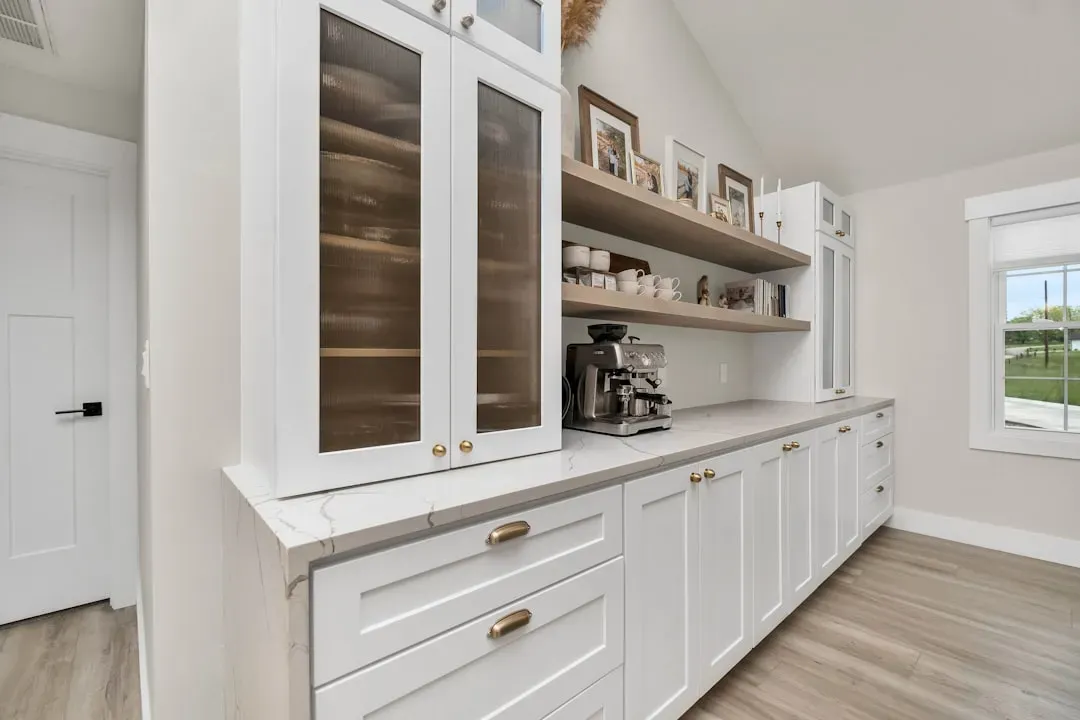
One of the most convincing illusions in home design involves making stock kitchen or bathroom cabinets look like they were always built into the wall. You can make standard kitchen cabinets look like built-in furniture pieces with the addition of furniture feet painted to match. Measure the height from the floor to the bottom of the cabinet, then find unfinished “bun” feet online or at a craft store to fit your measurements. The gap between the cabinet base and floor is what separates stock from custom in most kitchens, and eliminating it changes the whole reading of the room.
Adding crown molding to the top of upper cabinets, filling the space to the ceiling, is the other major move. Framing out a doorway for less than $100, done in just a few hours, can be a total game changer for a room, giving it instant charm and character. The same principle applies to cabinetry: thin strips of wood and a few coats of matching paint can transform a standard box into something that looks architecturally intentional.
6. DIY Picture Frame Molding on Walls

Picture frame molding is one of those features you see in high-end dining rooms and foyers that looks extraordinarily expensive but is actually one of the most affordable wall treatments available. It involves mounting simple rectangular frames of thin trim directly onto a painted wall, creating a paneled effect. Installing DIY picture frame molding on the walls creates a custom, high-end paneled effect that reads as serious architectural work, even when the materials cost only a few dollars per linear foot.
Trim costs between $0.50 and $10 per linear foot on average, although you may pay more for ornate or custom trim. For picture frame molding, simple flat stock or colonial-profile MDF trim in the lower price range works perfectly. Trim makes a huge difference in how finished a space looks, and how all your decor choices suddenly come together to make a final impression. Paint the entire wall, including the frames, in the same color for a sophisticated, tone-on-tone result.
7. Upgraded Light Fixtures Throughout the Home
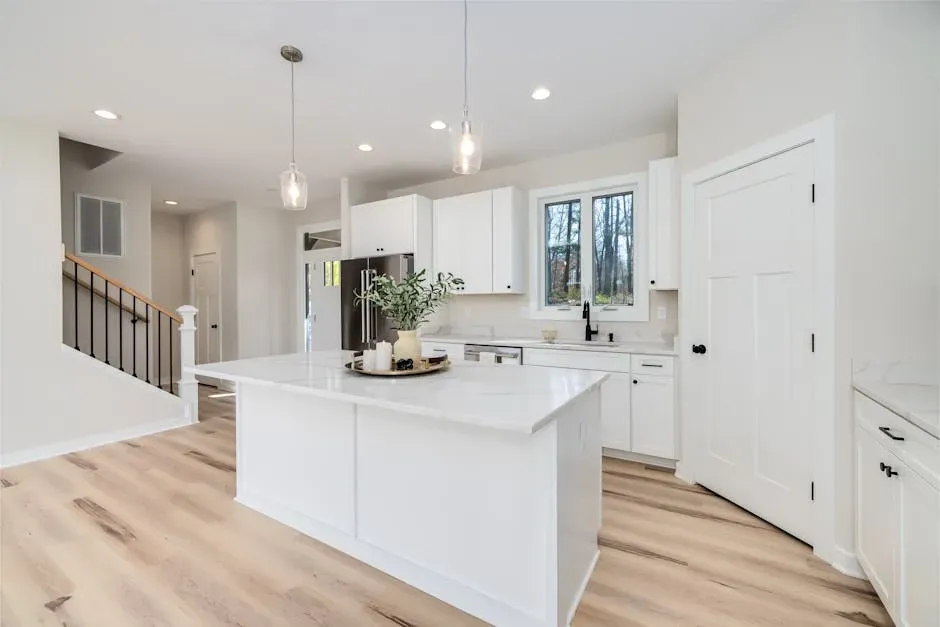
Builder-grade light fixtures are among the most universally disliked features in any production home, and swapping them out is one of the highest-impact changes you can make for the money. Lighting can dramatically affect the ambiance of a home, and upgrading fixtures is a budget-friendly way to improve a space. The difference between a plain flush-mount ceiling light and an aged brass semi-flush or a simple pendant is night and day, literally and figuratively.
A large chandelier found secondhand for around $60, combined with a breakfast table fixture found on sale for $90, gives a home a major upgrade for around $150 total. Marketplace apps and thrift stores are genuinely useful here. Upgrading not only chandeliers but also flush-mount lighting is a small change with big impact – the kind of update that makes a space feel curated rather than default.
8. Carriage-Style Garage Door Hardware
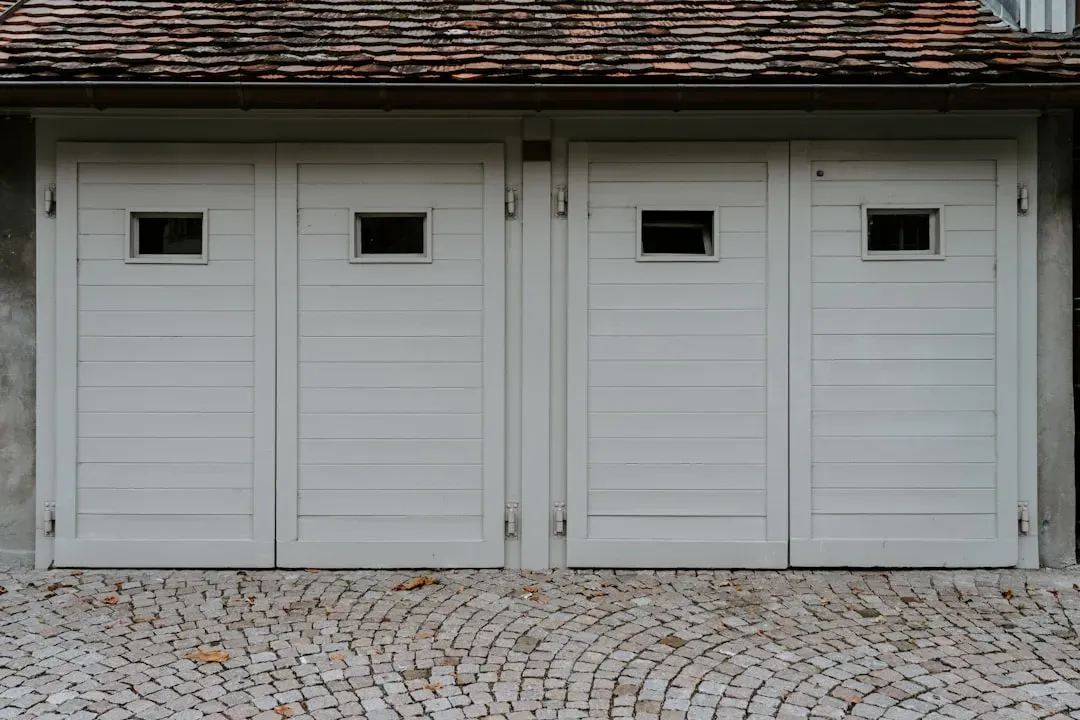
From the street, few things do more for a home’s perceived quality than the garage door. Carriage-style doors look custom, expensive, and deeply considered, which is exactly why the hardware-only version is such a clever trick. Carriage house garage doors are highly sought after in home design and renovation, but these charming additions quickly add up in cost. One carriage-style garage door can run upward of $1,400. That’s a real number, and most homeowners never need to spend it.
A budget-friendly alternative is magnetic hinges and handles that can take a door from drab to custom-looking instantly for just $20, with no hardware installation required. The magnets allow the hardware to sit flush against the existing door surface without drilling, making it a truly reversible and risk-free project. It’s one of those rare updates where the before-and-after difference far exceeds what the price tag suggests, and it takes about fifteen minutes to complete.
None of these projects require a contractor, a large budget, or even a fully equipped workshop. What they share is a focus on architectural detail – the layering of trim, texture, and finish that distinguishes a thoughtfully designed home from a generic one. Most can be done over a single weekend, and the cumulative effect of tackling even three or four of them is a home that genuinely feels custom, from the moment you pull into the driveway to the last room down the hall.